This wedding decor checklist sorts every item by guest impact per dollar and time spent. Grab our downloadable checklists (print or spreadsheet) to track your essentials versus nice-to-haves. We’ve even packed in tips to repurpose items and protect your sanity along the way.
Let’s start where it counts most: the tables your guests will sit at for hours.

1. The Reception Table: Your Highest-ROI Decor Zone
Here’s a classic wedding planning trap: spending thousands on ceremony aisle decor for a walk that lasts ninety seconds. While the “first kiss” photo is essential, your guests spend roughly 60% of the day at their tables. That makes the reception table your ultimate high-ROI zone, the longest guest touchpoint of the entire event.
This is where your people eat, toast, and lovingly judge your linen choices while waiting for the steak. When you flip through your gallery later, the money shots aren’t just the cake cutting. They’re the candid, candlelit moments captured right at the dinner seats. If you want to make an impact without losing your mind, focus your budget here first.
The Must-Have Table Checklist
Before you worry about custom ice sculptures, nail the functional basics. Use this section of your wedding decor checklist to make sure your rental order is actually complete.
- Linens: These are your canvas. Choose base tablecloths, runners, or overlays that set the color palette for the entire room.
- Chairs: Do the venue’s chairs match your vibe? If not, look into Chiavaris or cross-back rentals to instantly elevate the look.
- Napkins: Think about the fold. A simple knot, a classic rectangle, or a draped style can completely change the table’s formality.
- Flatware: You need forks, knives, and spoons that feel sturdy and match your metal tones.
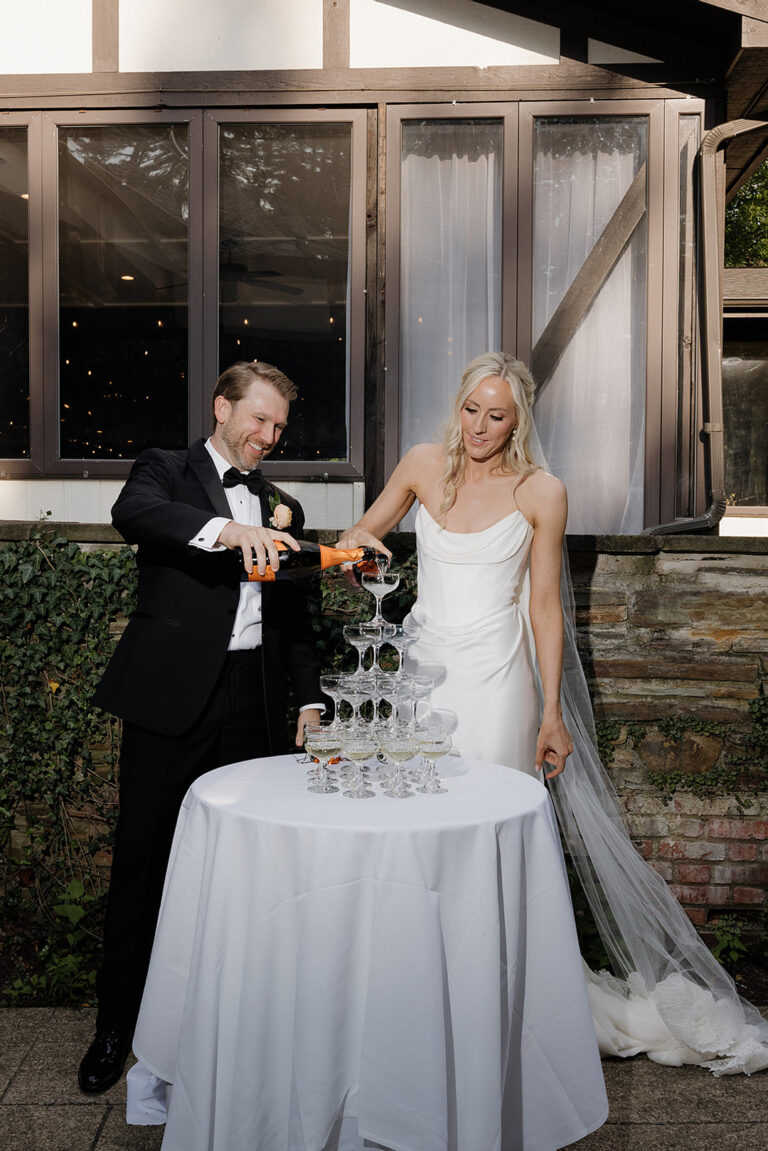
- Drinkware: Don’t forget water glasses, wine glasses, and specific glassware for the champagne toast.
- Dishware and Chargers: Even for a buffet, a charger plate keeps the table from looking empty when guests first arrive.
- Place Cards: Non-negotiable for assigned seating. No one wants to play musical chairs with 150 strangers.
- Menus: Provide one per person or place a few shared menus near the centerpieces.
- Table Numbers: Make these large enough to spot from across the room so guests aren’t wandering aimlessly.
- Centerpieces: Whether you choose low clusters or tall arrangements, they should be the clear visual focal point.
- Candles: Always check venue rules on open flames before you buy three hundred pillar candles.
Nice-to-Have Upgrades
If the budget has a little wiggle room, these small additions punch well above their weight. They’re also the details that end up in the most guest-shared photos.
- Personalized Place Settings: Laser-cut names or a small sprig of fresh greenery on each napkin.
- Bud Vases: Perfect for filling the dead space between larger floral arrangements.
- Textured Linens: Swapping standard polyester for velvet or gauze adds instant depth and luxury.
- Statement Chairs: Can’t afford fancy chairs for everyone? Rent special seats just for the two of you at the sweetheart table.
Execution Tips for a Flawless Setup
We’ve all been to a wedding where you have to play peek-a-boo behind a hydrangea bush just to talk to the person across from you. Keep centerpieces either below chin level or high above heads on thin stands. Conversation should flow as easily as the wine.
Build one sample place setting at home and photograph it clearly. Give that photo to your florist and rental team so there’s zero confusion on the wedding morning. It’s the easiest way to guarantee your vision actually makes it to the table.
Working with a tighter budget? Ask your florist to repurpose your ceremony florals. Those aisle meadows or altar arrangements can move to the head table or guest tables during the cocktail hour. Double the beauty, single price tag.
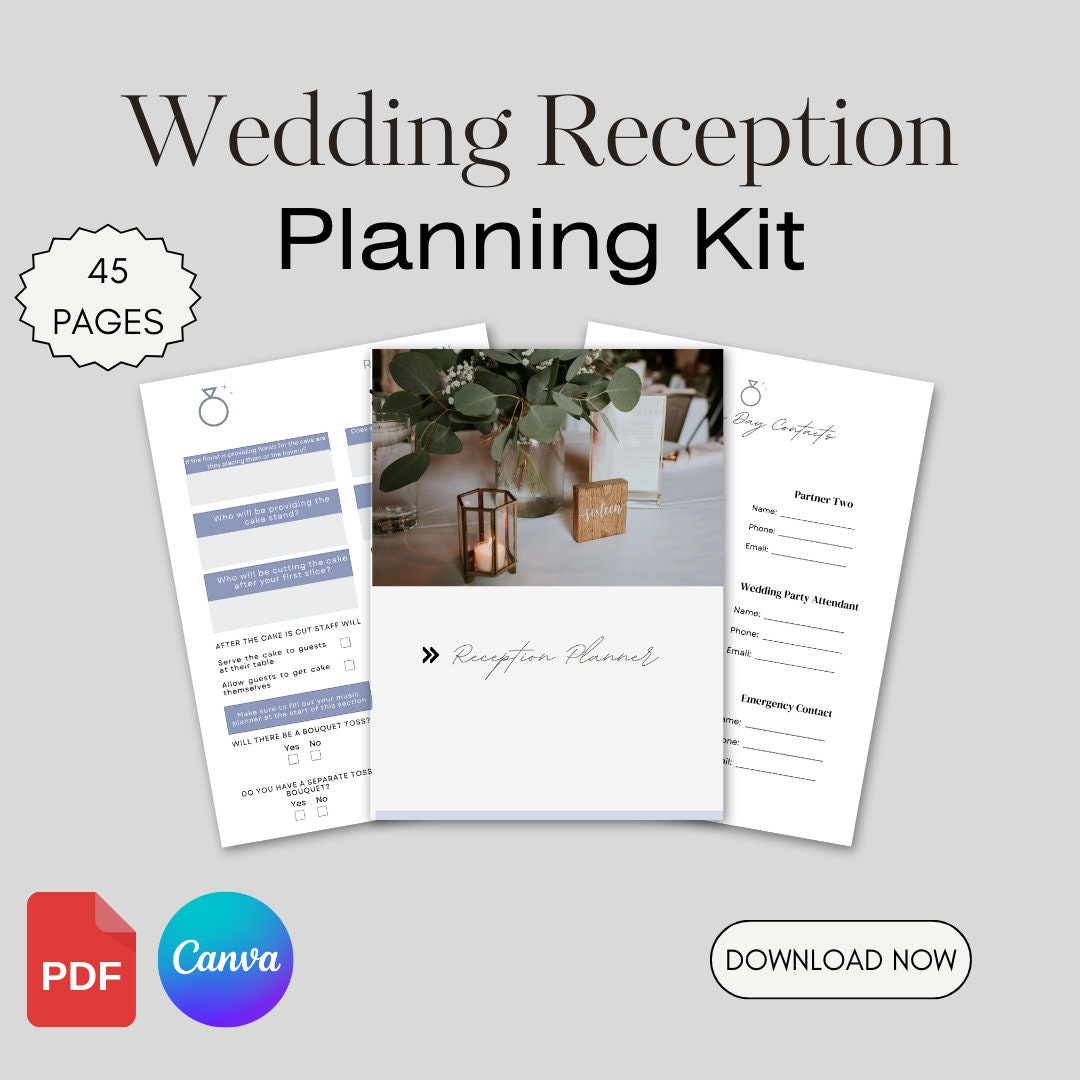
Editable Canva Reception Planner
2. The Atmosphere Anchors: Transforming Your Reception Space
Here’s the truth: no one remembers the color of your napkins six months after the big day. They do, however, remember the feeling of walking into a room that looked like a lush forest or a glowing jazz club. This is the checklist for items that make guests say, “Whoa,” before they even find the bar.
If you want to move beyond standard hotel ballroom and into editorial masterpiece territory, you have to think vertically. Most couples focus solely on what’s sitting on the tables. The pros focus on what’s happening above and around them.
Here’s your core checklist for making the reception space feel intentional, immersive, and expensive.
- Lighting: Your most powerful tool. Use string lights for whimsy, uplights to shift the wall color, and pin spots to highlight your centerpieces.
- Draping: If your venue has interesting carpet or walls you’d rather hide, floor-to-ceiling fabric can soften the entire room.
- The Dance Floor: Check whether the existing floor works with your aesthetic. If it’s an eyesore, a rental or custom vinyl wrap can save you.
- DJ Booth or Band Stage Decor: Don’t let the music hub look like a pile of wires. Add florals or a sleek facade to keep the stage on-brand.
- Hanging Installations: Think big. Chandeliers, paper lanterns, or massive greenery clouds create a ceiling of interest that fills empty air.
- Sweetheart or Head Table Backdrop: This is the ultimate photo magnet. Make sure the space behind you is as beautiful as the table itself, because you’ll be in every shot.
- Lounge Area: Soft seating and side tables away from the speakers. Your older guests and your bridesmaids’ feet will thank you.
- Bar Decor: People spend a lot of time in line for drinks. Make the bar a destination with custom signage, menus, and floral accents.
- Cake and Dessert Table: This needs a dedicated moment. Use unique linens and clear signage so guests actually know what they’re eating.
- The Tent: If you’re outdoors, the tent itself is the decor. Consider clear-top or sailcloth options for a high-end, airy look.
The Nice-to-Have Moments
Looking to add more personality? A custom neon sign with your new last name or a favorite quote acts as a perfect photo op that your friends will actually use. A ceiling installation spanning the entire dance floor creates a cozy, intimate feeling even inside a massive warehouse space.
Practical Logistics Before You Fall in Love
Before you commission a 300-pound floral chandelier, confirm your venue’s rigging and weight policies. Many spaces have strict rules around ceiling rigging, wall adhesives, and open flames. If you want romantic candlelit glow, verify whether the venue requires LED-only options.
You also need a moving plan. If you spent a fortune on ceremony pillars or a floral arch, don’t let them sit in the garden while the party happens inside. Assign a specific person to move these items to the sweetheart table or the cake display during cocktail hour. Same look. No second invoice.
3. The Ceremony Essentials: Framing the “I Do” Without Breaking the Bank
You spend 18 months planning a ceremony that lasts 20 minutes. It’s easy to get swept up in the aisle meadow trend, but let’s get strategic. You want a gorgeous backdrop for the photos that live on your mantel forever, and you also need guests to actually find their seats without wandering like lost sheep.
The goal is to focus on two things: what frames you as a couple, and what helps guests navigate the space. Your ceremony is the most sacred part of the day, but it’s also the shortest time guests spend in one spot. Don’t blow your entire floral budget on decor that’s visible for less time than it takes to finish a latte.
Your Must-Have Ceremony Checklist
Stick to these functional basics before you start looking at custom-engraved rose petals.
- Welcome Sign: The first thing people see. It confirms they’re at the right wedding and didn’t accidentally wander into a corporate retreat next door.
- Altar Decor, Backdrop, or Arch: This frames your first kiss. Make it the visual focal point of the entire space for the best return on investment.
- Aisle Decor: Pew markers or floral clusters define the path and stop the space from looking sparse.
- Ceremony Seating: Enough chairs for every single guest. Standing-room-only is rarely the vibe you’re going for.
- Aisle Runner: Optional, but a lifesaver if you’re walking on grass or uneven stone in expensive heels.
- Programs or a Large Sign: One large, stylish sign introducing the wedding party and order of service saves on printing costs.
- Card and Gift Station: A secure box near the entrance for guests who arrive with envelopes in hand.
- Flower Girl Basket: Light enough for a toddler to carry without a pre-aisle meltdown.
- Ring Bearer Box: A sturdy box is safer than a pillow for keeping the hardware from sliding off mid-walk.
- Functional Signage: “Unplugged ceremony” reminders or “pick a seat” instructions manage guest behavior without anyone having to say a word.
Pro Tips for Photos and Flow
Test the height of your arch or pillars before the big day. You want them to frame you, not look like they’re growing out of your heads in the wide shots. Your photographer will likely be crouched in the aisle, so make sure your arrangements don’t block their line of sight to your faces.
Always build a fast-flip plan. If you’re reusing expensive altar arrangements for the reception, designate a flower task force to move them the second the ceremony ends. This is the smartest way to get double the value out of your floral budget without anyone noticing the double-dip.
Cultural and Ritual Add-Ons
Your heritage should never feel like an afterthought. If you’re incorporating specific rituals, make sure those elements are in your setup plan from day one.
- Chuppah, Mandap, or Canopy: Double-check the structure’s stability and make sure fabric and florals are secured against outdoor wind.
- Tea Ceremony Setup: You’ll need a dedicated table, a tea set, and clear signage to explain the ritual to unfamiliar guests.
- Sofreh-Style Spread: This requires a low table or cloth for symbolic items like mirrors, candles, and fruit.
- Unity Ritual Items: Keep unity candles, sand jars, or handfasting cords on a small, sturdy table near the altar.

4. The Cocktail Hour: Mastering the Most Intentional Holding Pattern
The transition from “I do” to “let’s eat” is a dangerous time for guest energy. Without a curated plan, your cocktail hour starts to feel like a fancy waiting room where people hunt for stray crab cakes. Treat this hour as a planned bridge instead of a logistics gap. Your goal is to keep everyone comfortable, lubricated, and just busy enough to forget that dinner is still an hour away.
The Cocktail Hour Essentials
To make this hour feel like a planned party rather than a delay, nail the functional basics first. Use this checklist to ensure your bar area looks as good as the drinks taste.
- The Bar: If your venue lacks a built-in setup, rent a functional bar front that matches your theme.
- Bar Decor: Oversized floral arrangements or a custom backdrop make the bar a visual destination, not just a line to stand in.
- Signature Drink Signage: List ingredients clearly on an acrylic or chalkboard sign so the line moves quickly.
- Cocktail Napkins: The perfect place for a monogram or a cheeky fun fact about your relationship.
- Drink Stirrers and Straws: Small details that add a punch of color and personality to every glass.
- Cocktail Tables: High-tops let people mingle without feeling anchored to a chair.
- Coordinated Linens: Choose colors that complement your reception tables to keep the aesthetic cohesive.
- Bud Vases: Small pops of color that don’t take up valuable drink space.
- Lounge Furniture: Rent a few vintage sofas that can migrate to the reception space later to stretch your budget further.
Navigating the Space
Before the prosecco hits too hard, guests need to know where they’re heading next. Don’t make them hunt for their names like they’re searching for a needle in a haystack. We love a framed seating chart on a sturdy easel because it prevents a paper storm of tiny escort cards blowing away in the breeze.
One Interactive Moment
Pick one or two interactive stations, not five. A memory table with family photos is a sentimental win, while lawn games work beautifully for outdoor summer weddings. A guest book table is our non-negotiable for capturing well-wishes you’ll actually want to read later.
Micro-Checklist Spotlight: The Polaroid Guest Book
The Polaroid guest book is a classic for a reason. It gives people something to do with their hands and creates instant, hilarious memories. Watching your Great Aunt figure out an instant camera is worth the price of the film alone.
- Blank guest book with thick, durable pages to prevent ink bleed
- Metallic Sharpies and plenty of double-sided tape or glue dots
- Two instant cameras to prevent a bottleneck
- Extra film (order at least 20% more than your total guest count)
- Framed instruction signage explaining the “Snap, Tape, Sign” process
- A small, stylish trash container for film backings

5. The “Invisible” Essentials: Functional Decor and Tech Logistics
Ever been to a wedding where you spent twenty minutes hunting for the restroom, only to end up in the industrial kitchen? It’s awkward for you and even worse for the catering staff plating the sea bass. While neon signs and floral arches get the Pinterest glory, unglamorous logistics are what keep your wedding from devolving into expensive chaos. Think of this as the decor that prevents guests from wandering around like lost hikers.
Wayfinding and the Arrival Moment
First impressions happen before the first cocktail is poured. If guests are stressed about parking or walking paths, they won’t be in the mood to admire your centerpiece choices. Use signage to guide them from the moment they put the car in park.
- Parking and Shuttle Signage: Mark clearly where to leave the car and where the shuttle picks everyone up at the end of the night.
- Directional Signs: Clear pointers for the ceremony, cocktail hour, and restrooms. If the path is long, add a sign every 50 feet to reassure guests they’re on the right track.
- Welcome Table: A small table at the entrance with minimal florals and a Welcome sign acts as a physical anchor for arriving guests. It’s also the perfect spot for a basket of fans if it’s hot, or pashminas if there’s a chill.
The Getting-Ready Suite
Your photographer will spend the first hour of the day shooting your details. Don’t make them hunt through bridesmaid luggage and half-eaten bagels for a clean surface. A designated styling zone keeps your morning stress-free and your photos polished.
- Styling Surface: Bring a yard of neutral linen or a styling mat for flat-lay photos of invitations, rings, and jewelry.
- Photo-Ready Hangers: Swap plastic dry-cleaner hangers for wood or padded options for those iconic dress shots.
- Mirror Area Lighting: If the suite is dim, a small portable ring light helps the makeup artist work and makes your final touch photos look professional.
The “Just in Case” Bathroom Basket
This is the ultimate “I thought of everything” move for guest comfort. Think of it as a little insurance policy against wardrobe malfunctions and mid-reception shiny foreheads.
- The Basics: A small basket with mints, safety pins, hair ties, and blotting papers.
- Labels and Signage: A small card that reads “Compliments of the newlyweds” so guests know the items are there for everyone.
Tech and Digital Integration
Your guests are going to take photos no matter what, so you might as well make it easy for them. Digital integration is about making participation effortless.
- QR Code Sign for Sharing: Place these at the bar or on cocktail tables so guests can upload photos to a shared folder or app.
- QR Code Sign for Timeline: A digital link to the schedule saves you from printing 200 paper programs that end up in the trash. It also allows for real-time updates if the ceremony runs late.
- Livestream Backdrop: If you’re streaming for long-distance family, ensure the background is clean. Check for fire extinguishers or exit signs that might photobomb Aunt Martha’s view.
The Power and Cord Reality Check
Nothing kills the vibe faster than a DJ’s speakers cutting out or a guest tripping over a stray wire. It’s the least sexy part of wedding planning, but it’s the most vital for safety and flow.
- Gaffer Tape and Cord Covers: Use these to secure cords to the floor without leaving sticky residue on the venue’s wood. It’s the gold standard for trip hazard prevention.
- Power Map: Mark exactly where outlets are on your floor plan and what will be plugged into each. This prevents the blown fuse disaster when the coffee urn and the photo booth share the same circuit.
- Battery Backups: Keep extra batteries on hand for LED candles, microphones, and any cordless lighting.

6. The Post-Wedding Strike: Managing the Day-After Hangover
The party’s over and the sparklers have finally fizzled out. Now the house lights come up and reality hits. That gorgeous venue won’t magically clean itself just because you’re officially a spouse. Unless you hired a full-service planner, someone has to handle the teardown. Without a plan, your wedding glow fades into a logistical nightmare fast.
Your Night-Of Strike Checklist
You should be sipping champagne or eating late-night pizza when cleanup starts. Do not try to do this yourself. Assign a “Strike Team” of two or three reliable friends to handle the immediate essentials. They need to be the responsible ones who can follow a list while you make your grand exit.
- Secure the goods: Assign one person to grab the gift box, cards, and guest book. Lock these in a car or hotel safe before the first table is cleared.
- The “First Out” pack: Collect sentimental keepsakes first. Custom cake topper, vow books, that expensive hand-painted guest book.
- The Label System: Use pre-labeled bins marked Home, Rental Return, Donate, or Trash. This prevents helpers from accidentally tossing your custom silk ribbons in the dumpster.
- Vendor Verification: Confirm who takes what. Does the florist reclaim the rental vases? Review your contracts a week early to avoid lost-item fees that can run $15 to $50 per piece.
The 24-48 Hour Recovery Plan
The heavy lifting continues the next morning. While you’re enjoying your first brunch as a married couple, your team needs to tie up these loose ends. Most venues require a complete exit within a specific window to avoid overtime charges.
- Confirm rental pickups: Make sure your rental company has a clear pickup window. If you’re doing the drop-offs, confirm your driver is awake and has a large enough vehicle.
- Inventory check: Scan your decor against your original wedding decor checklist. Document any damage immediately so you’re not surprised by a lost security deposit later.
- Floral afterlife: Decide on a plan for your flowers. Send them to a preservationist or drop them at a local nursing home. Many charities will pick them up and repurpose them for you.
Essential Packing Supplies
Don’t show up with three grocery bags and a prayer. A dedicated Strike Kit makes for a smooth exit.
- Large plastic totes or heavy-duty cardboard boxes
- Packing tape and thick permanent markers for labeling
- Heavy-duty trash bags for waste and recycling
- Clear zip-top bags for small pieces like candle holders or sign stands
- Extra pre-printed labels for every box so items end up in the right vehicle
Eco-Friendly Exit Ramps
Let’s talk about the wedding waste elephant in the room. You can have a Pinterest-worthy day without creating a mountain of trash.
- Rent over buy: Renting big-ticket items is better for the planet and your budget. It also saves you from storing twelve gold lanterns in your garage for a decade.
- The two-for-one rule: If those ceremony flowers worked at the altar, they can absolutely work at the bar. Moving aisle markers to the cake table is a classic pro move.
- Sustainable choices: Skip floral foam and plastic confetti. Choose compostable petals, seed paper, or dried lavender. They look better in photos anyway.
How to Execute Your Wedding Decor Plan Without Losing Your Mind
Ever feel like your Pinterest board is just a very expensive hallucination? A wedding decor checklist is only helpful if it maps to actual decisions and actual deadlines. If you’ve spent months pinning floral clouds but haven’t decided who climbs the ladder to hang them, you don’t have a plan. You have a very expensive hobby. Here’s how to turn the dream into a real, executable day.
Step 1: Set Your Decor Priorities
Not all decor is created equal. When you start to feel the budget squeeze, run everything through the Guest Impact filter. Focus on where people spend their time and where their eyes naturally travel.
- Prioritize tables first. This is where the longest guest touchpoint happens. Crisp linens and intentional centerpieces make the whole room feel luxurious.
- Invest in lighting and vibe. Lighting transforms a generic room into a curated experience more effectively than five hundred tiny votives ever could.
- Frame the ceremony. Focus on the altar backdrop. This is the one item that appears in your first kiss photo for the next fifty years.
- Cut the extras last. Treat everything else as a nice-to-have. If you run out of time or money, the custom cocktail stirrers go first.
Step 2: Use Milestone Timing to Stay Ahead
Wedding planning is a marathon. If you try to order custom neon signs two weeks before the big day, you’ll pay a panic tax in expedited shipping fees. Stick to this schedule.
- 12 Months Out: Lock in your style direction. Decide now if you’re Modern Industrial or Secret Garden so you don’t accidentally buy conflicting items for the next year.
- 6 to 8 Months Out: Finalize your big rentals. Chairs, linens, lighting, tenting. These have limited inventory and go fast.
- 1 to 3 Months Out: Enter the detail phase. Finalize tabletop counts, print signage, and buy small decor items like card boxes and guest books.
Step 3: Build a Repurposing Plan
Double-dipping is the smartest way to win at wedding math. Never buy something that only serves one purpose for twenty minutes.
- Ceremony to Reception: Move altar arrangements to the sweetheart table or cake display the second the vows end.
- Cocktail to Lounge: Transition cocktail hour florals to the reception lounge or bar once the party moves inside.
- Strategic Signage: A welcome sign that works for both the ceremony entrance and the reception lobby saves on printing and looks intentional, not lazy.
Step 4: Create a Vendor Responsibility Matrix
The biggest source of wedding day stress is the “I thought they were doing it” conversation. Your venue coordinator is not your personal florist, and your caterer is not going to hang your custom neon sign. Confirm every responsibility in writing.
- Venue: Tables, standard chairs, and basic floor plan setup.
- Caterer: Place settings, napkins, and glassware.
- Florist: Ask explicitly if they set up candles or rental arches in addition to anything with a stem.
- Rentals: Confirm the rental company handles setup and teardown of large items like tents and dance floors.
- Coordinator: Assign them the task of setting out the guest book and securing the card box.
Step 5: Master Your Logistics Tools
Organization is the only thing standing between you and a 4:00 a.m. breakdown over escort cards. These two systems will save you.
- The Day-Of Bins: Clear, labeled plastic bins for every zone. One for the welcome table, one for the bar, one for the guest book. Setup goes dramatically faster when your coordinator isn’t guessing.
- The Inventory Spreadsheet: Track every item, who brings it, and exactly where it lands. If you bought 200 brass candlesticks, this sheet tells your strike team exactly how many to pack up at the end of the night.
Follow this workflow and you’ll have a firm timeline, a clear priority list, and a handoff plan that actually holds up on the day. Now go enjoy your wedding.
Frequently Asked Questions
How much should I budget for wedding decor, not including flowers?
A realistic range for wedding rentals and decor usually falls between $2,000 and $10,000. Your final number shifts based on guest count, the complexity of your lighting plan, and whether you’re upgrading basic venue chairs. For the best bang for your buck, put your money into guest tables and professional lighting. These two elements define the atmosphere for the entire evening and appear in the background of every candid photo you’ll ever love.
Who is responsible for setting up and taking down all the wedding decor?
It depends entirely on your vendor contracts. Typically, your florist handles anything involving a stem, your caterer manages the place settings, and your rental company handles large-scale items like tents and dance floors. If you have a long list of personal DIY items, hire a day-of coordinator or appoint a dedicated strike captain to manage the exit. Always confirm in writing. The “I thought they were doing it” conversation is not one you want to have at 11pm in a ballroom.
When should I book my rentals, like linens, chairs, and lighting?
Book your core rentals 6 to 8 months before your wedding date. If you’re marrying during peak season like June or October, push that to 10 months to ensure your favorite chair styles aren’t already claimed. You don’t need your final guest count to start. Lock in your base order to secure the date, then finalize specific numbers once your RSVPs are in.
What wedding decor items do couples most commonly forget?
The unglamorous functional items. Easels for heavy signs, extension cords for the DJ, and lighters for real candles are perennial casualties. Small hardware like Command hooks, floral wire, and extra tape are common last-minute panics. Beyond the toolkit items, couples frequently forget the card box, table number stands, and a designated pen for the guest book. Run through our In-Between Spaces and Power checklist to catch these before the day.
How do I make my wedding decor more sustainable without it looking “crunchy”?
The easiest move is renting high-quality items instead of buying single-use versions. Stick to timeless materials like glass, metal, and linen rather than burlap and twine. Repurpose your ceremony florals for the reception, choose compostable confetti or dried lavender for your exit, and consider donating or reselling your non-perishable decor to another couple after the event. Sustainable and stunning are absolutely not mutually exclusive.