So if you’re tying the knot in 2024 and aiming to captivate everyone with your hairstyle look no further. We’ve curated a list of the 10 hairstyles that will make you appear like an absolute vision of perfection on your big day. Prepare to turn heads and leave a lasting impression, with these hairstyles.
1. The Classic Chignon with a Modern Twist

Embark on a journey into timeless sophistication with the Classic Chignon, but this one comes with a twist for 2024. This elegant hairstyle known for its charm, enters the scene with delicate loose strands and a gentle slightly undone finish.
The outcome? A hairstyle that artfully combines the timeless grace of the chignon with a touch of present-day flair. Picture yourself walking down the aisle with your hair flawlessly styled in a chignon radiating a sense of elegance. This look is perfect, for brides who seek a fusion of past and present – a blend of classic allure and current trends.
So why not redefine tradition on your day by embracing this twist on the Classic Chignon? It’s chic, enchanting, and ready to elevate your bridal look with a touch of grace.
2. Statement Braids for a Rustic Appeal

Brides have always had a fondness for braids, especially when wanting to add a touch of charm to their wedding look. These aren’t your everyday braids. Imagine patterns woven into the hair, adorned with flowers or sparkling hair accessories creating a striking hairstyle that exhibits natural beauty.
This countryside-inspired style brings a captivating simplicity to the wedding celebration. So if you envision a themed wedding with a touch of sophistication then these distinctive braids will help you achieve just that. Ensuring your look is as exceptional as your love story.
3. The High Ponytail with a Glamorous Edge
Forget what you’ve heard about ponytails being solely for laid-back occasions. The high ponytail has now become a choice for brides exuding an aura of glamour and sophistication in 2024.
Imagine beautiful locks cascading from a high ponytail blending with voluminous waves or curls to create depth and dimension. Let’s not forget the accessories that sparkle with every movement you make. This attention-grabbing style isn’t for the fashionable bride; it’s a show-stopping look that radiates confidence.
With its appearance and playful charm, the high ponytail is no longer an everyday hairstyle. It’s a glamorous bridal statement that guarantees to steal the spotlight on your special day. So are you excited to redefine elegance, with a high ponytail?
4. Short and Sweet Bob with a Vintage Flair
Not everyone has long cascading hair, so embrace your short locks and make a bold statement by choosing the bob haircut. 2024 is going to be the year of vintage revival, so why not add a twist to the classic bob? Turn your hair into a work of art, with soft waves or curled locks that pay homage to the retro era.
That’s not all! Enhance your look with vintage-inspired accessories like a feathered headband or sparkling hair clips that bring a touch of old-world glamour to your bridal ensemble. This captivating short and sweet bob hairstyle will surely leave a lasting impression ensuring you have a memorable presence on your wedding day. So get ready to defy the norms of hair and embrace a bob hairstyle with a fabulous vintage flair.
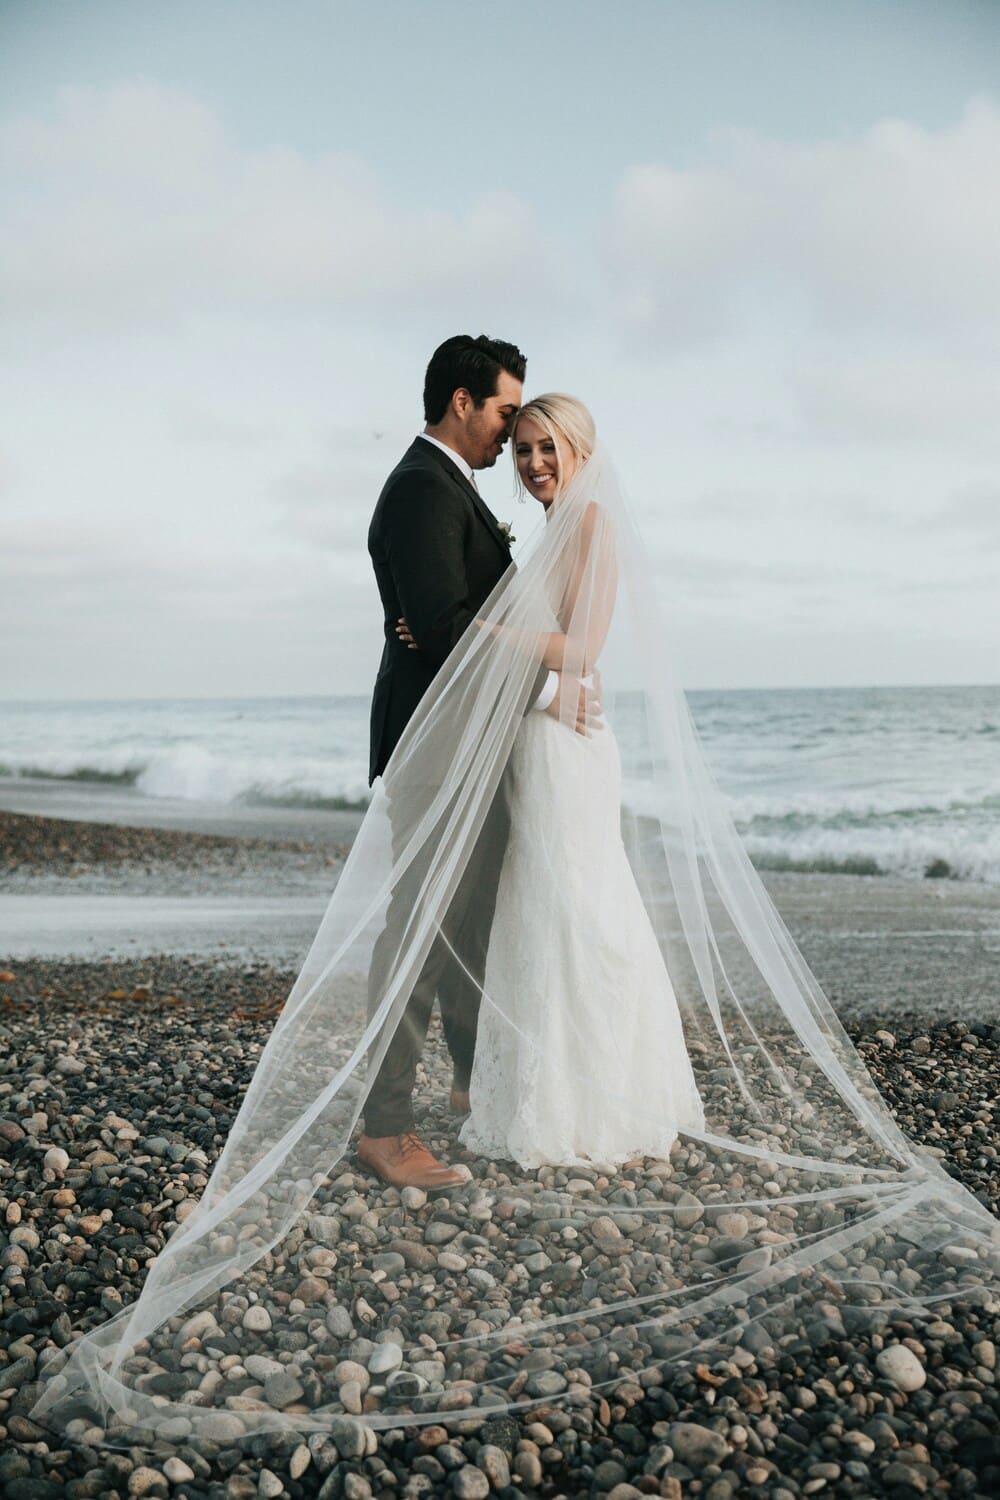
5. Loose Waves for a Beachy Vibe
Indulge in the charm of the ocean with cascading, loose waves. A hairstyle that perfectly captures a beachy vibe. Effortless yet enchanting, this hairstyle is the embodiment of coastal charm.
The relaxed curls gracefully flow down your shoulders mimicking the waves caressing the shoreline. Enhance this look with highlights that imitate the touch of sunlight on your locks creating a dreamy beach-like effect. Keep it simple allowing the waves to speak for themselves and complement your style with understated accessories. A pearl hairpin or a subtle seashell crown can add a small amount of oceanic elegance.
This wavy hairstyle is not limited to beach brides-to-be; it’s for anyone longing to infuse their wedding day with a hint of magic. Let these sea-inspired waves bring a relaxed atmosphere to your wedding ceremony reminding everyone of the tranquil serenity offered by the ocean.
6. Half-Up Half-Down Hairstyles for a Fairytale Touch

If you imagine strolling down the aisle radiating a sense of romance, then the Half Up Half Down hairstyle is your perfect match. This beloved style combines the aspects of an updo and the feminine allure of loose curls.
You have an array of options to create a look inspired by fairytales. A delicate braided crown or a twisted knot at the crown can elevate your hairstyle to the next level. If simplicity is your preference you can’t go wrong with the classic half-up style, allowing soft curls to gracefully frame your face.
This iconic hairstyle offers versatility and immerses you in a dreamy fairytale ambiance enchantingly enhancing your wedding day look.
7. Sleek and Straight for a Minimalist Appeal

Gone are the days when complicated hairstyles ruled the wedding scene. As we step into 2024, brides with a minimalist aesthetic are gravitating towards the sleek and straight hairstyle. The beauty of this style lies in its simplicity and its ability to effortlessly exude charm.
Impeccably straight locks are given a glossy sheen adding a touch of glamour. Adding a single hair accessory—a clip or a delicate pearl comb—is all that’s needed to elevate this minimalist look to bridal chic. This pared-down hairstyle perfectly complements wedding dresses and minimalistic decor embodying the “less is more” mantra and providing a classy option, for brides who appreciate simplicity on their special day.
Rest assured this sleek and straight look will make a statement without overshadowing your natural bridal radiance.
8. Textured Updo with a Bohemian Twist

Immerse yourself in the charm of the Textured Updo, a hairstyle with a bohemian twist. Perfect for brides who embrace their unique style. Imagine an updo with texture, complemented by playful tendrils that gracefully escape, reflecting your free-spirited nature.
Envision it with scattered blossoms adding a touch of boho magic to your dreams. This hairstyle effortlessly combines sophistication and carefree elegance complementing your boho wedding attire and decor like no other.
So are you ready to let your inner bohemian shine on your day? With the Textured Updo not only will you effortlessly embody the boho vibe but also radiate individuality and carefree grace amidst bridal styles.
9. The Elegant Top Knot for a Chic Appeal

Elevate the ordinary to something extraordinary with the top knot, a favorite among modern brides. This look takes the ballet-inspired top knot and gives it a bridal makeover, introducing a chic and sophisticated appeal to its inherent grace.
What makes this style so appealing is not its simplicity but its versatility. Whether you prefer a polished finish or want to incorporate some cascading strands for a gentler effect, this hairstyle guarantees a stunning and elegant bridal appearance. While traditionally associated with ballet tutus just imagine pairing this hairstyle with a wedding dress. It will effortlessly enhance your entire look.
The elegant top knot is more than a hairstyle; it’s an expression of grace, sophistication, and even some edginess, for the 2024 bride. By choosing this style you’re not just embracing a hairstyle, you’re wearing a true work of art.
10. The Timeless French Twist with a 2024 Upgrade

Let me take you on a journey to the world of the French Twist. With a contemporary touch for 2024. This classic bridal favorite has been given a makeover.
Imagine a French Twist with a slightly tousled finish adorned with carefully placed sparkling hairpins. It’s the fusion of timeless elegance and the trendy sophistication of the decade destined to be a hit in the upcoming 2024 wedding season.
Envision the grace and freshness of this hairstyle that will make you shine brighter on your day. The French Twist is more than a hairstyle; it symbolizes everlasting elegance reinvented for modern times. Make your walk down the aisle truly unforgettable with this reimagined version of the French Twist. It’s not only about your hair; it’s an expression of your style and grace.

Don’t forget to pin this to your Wedding Fashion Board for later!