Bridal Make Up and Hair Tips
Makeup, hair, creams, perfumes, and other things you want to look pretty smell good.
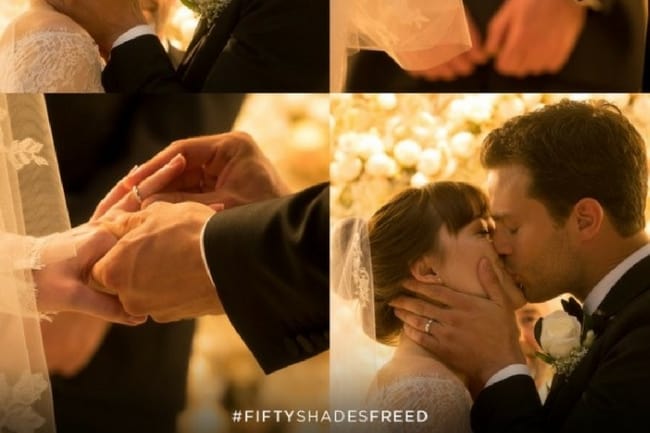
Ever notice when a celebrity gets married, most of us want to get our hands on the same gown from the celeb designer? Or, when a certain long awaited final instalment of a movie is released, AND it includes a wedding scene — *cough* Fifty Shade Freed *cough* — fans want to get the full inside scoop on […]
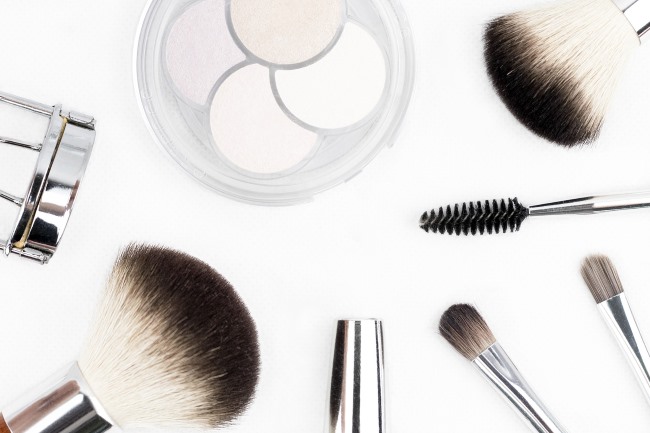
Your wedding date is fast approaching, and you still can’t seem to decide between going with airbrush makeup vs traditional makeup on the big day. Not to worry, you’ve landed at the right place! In this article, we’ll take a look at the exact differences between airbrush makeup and traditional makeup. As well, we’ll get […]