Wedding Invites: Everything You Need To Know
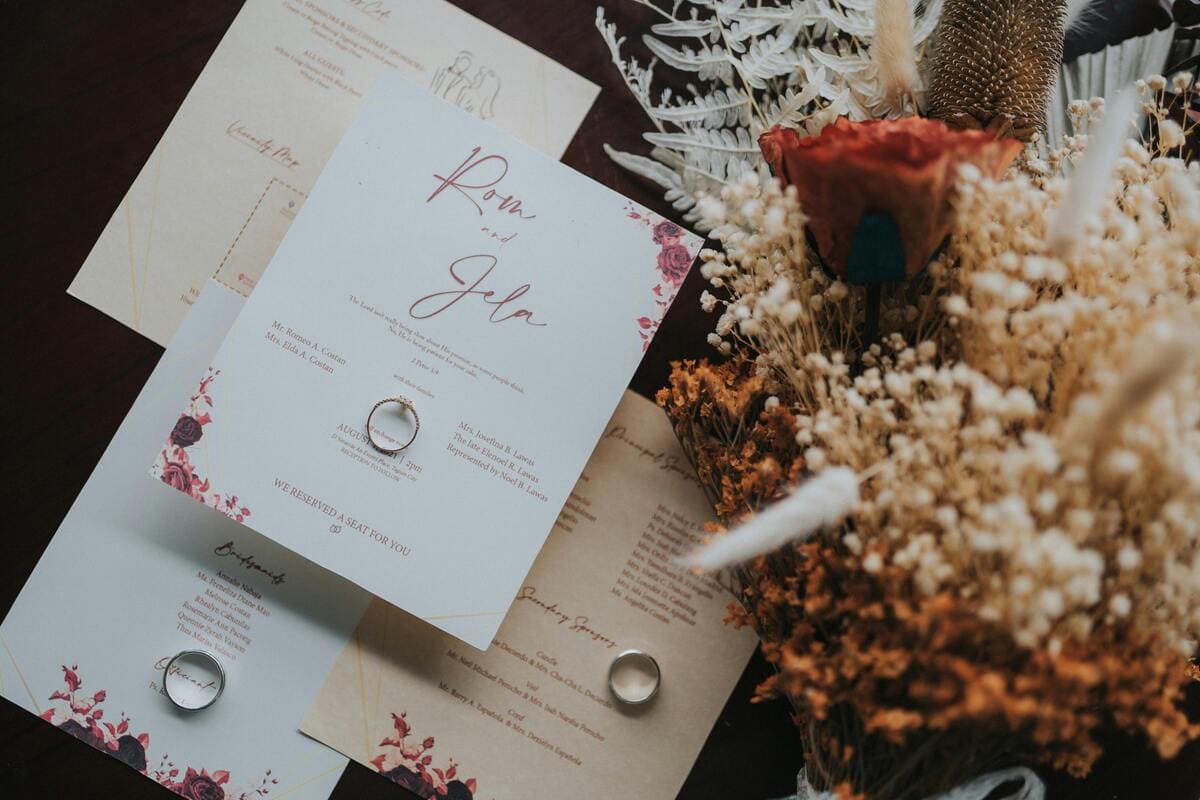
The wedding invite. This is the first time you are formally telling people about your wedding, and the first time they are getting a preview of what style or theme of wedding you may be having…. Plus you’re giving your guests the info they need about your big day. So it’s very important to get right!
Hand written calligraphy and letterpress wedding invites may be super elegant, but they can be very expensive too. Some of us are working within a strict budget, right?
DIY Wedding invitations, which you print yourself, are a great way to save a little money, and there are now many options out there which are user friendly and ultimately give you beautiful invitations at a fraction of the cost.
Here we walk you through the different options available to you and give you some key tips for creating the perfect wedding invite for your special day.
- Where do I start with my wedding invites?
- Hand Made Letterpress invites
- DIY Wedding Invite: Creating a Wedding Website
- DIY Wedding Invites: Printed options
- How to identify your preferred design for a digital invite
- RSVP options
- Printing my wedding invite
- Unique ideas to make your wedding invites stand out
- Top Tips for creating DIY wedding invites
- In summary
Where do I start with my wedding invites?
A great place to start when thinking about your invite is to picture your wedding day.
What is the overall vibe you want to create? Have a think about the color palette you love. And how can this be reflected in your wedding stationary?
By now you may have a Pinterest board or some kind of mood board on the go, and if not, do it! Use instagram to follow suppliers you like or to capture images of weddings that inspire you.
Think about the details of your wedding – what does your venue say about your big day and how can this be reflected in your invite? For example, if you’re having a black tie wedding in a city bar you may want classy black and white imagery of a minimalist style.
If you’re having an outdoor wedding in a field with a flower garland in your hair then it makes sense to incorporate florals into your invite design.
However, the most important thing about the invite is to include all the key information that people actually need. So if there is an invite style that you fall in love with that might not exactly match your wedding style – do not worry!
Here we walk you through some of the options available to you…
Hand Made Letterpress invites
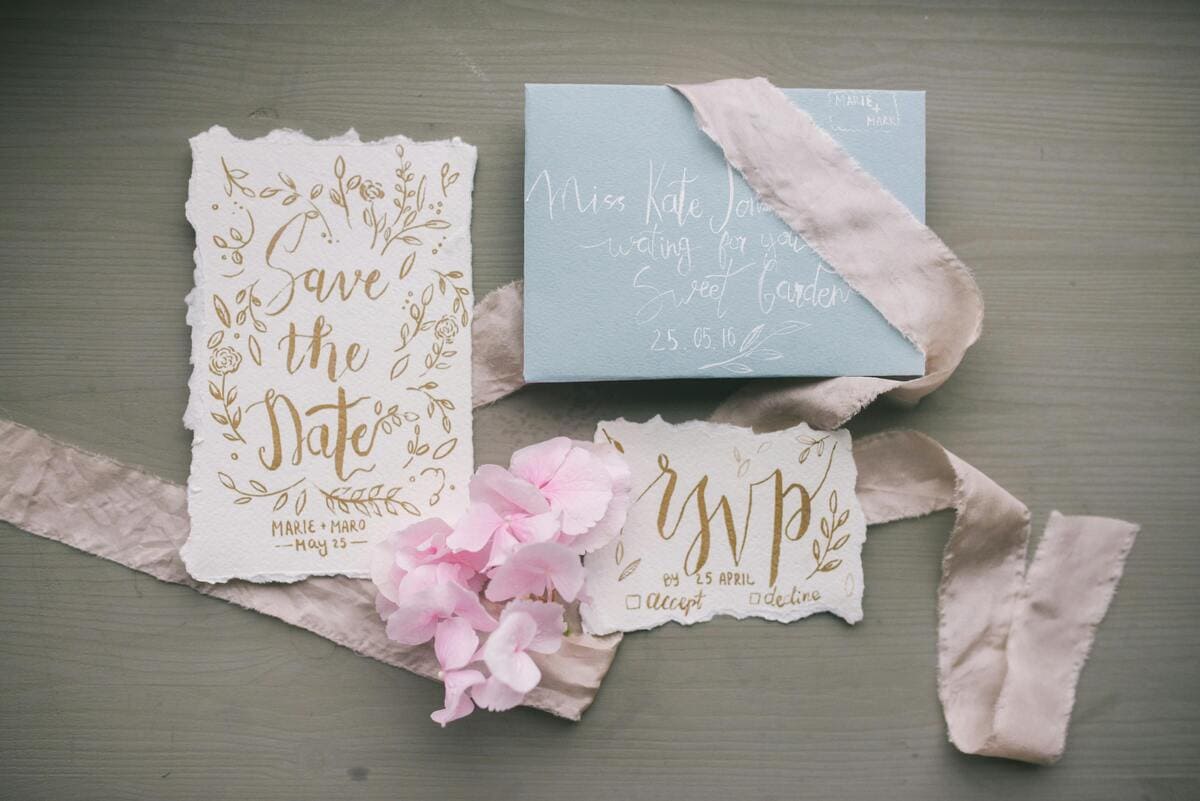
Letterpress is a really beautiful option for wedding invites, it’s a time honored technique of printing using a press. The press transfers the ink into a deep impression on your chosen paper, usually a soft, thick option.
Letterpress invites are elegant and unique, designed just for you. They are perfect for traditional, perhaps more formal weddings.
The down side to letterpress is that it’s pretty expensive. It’s labor intensive as it’s done by hand, and the materials cost more.
Do some online research to see if there are any letterpress designers local to you and maybe have a chat with them about how they work and their costings.
DIY Wedding Invite: Creating a Wedding Website
At the other end of the invite spectrum is creating a wedding website and using this as your digital invitation, with no printed option.
You’ll find there are loads of websites out there where you can easily create your own wedding site, giving your guests all the information they could possibly need for your big day.
You can create each element of the website with your preferred style, colors and design, and you can include special photos too. Some of them will allow you to select the font you love the most, so it will feel really YOU!
This is a very cost effective way to complete your wedding invite – sometimes even free!
Another benefit is that with a website you can give your guests a lot more information in one go. For example you can include direct links to accommodation options and your gift registry, making it really easy. It’s also super simple for your guests to RSVP through the website, and you can add last minute information easily too.
The only downside really is that your guests don’t have a physical invite in their hand – something to pin to the fridge and return to easily to remind them of your special day. I find that older aunts and grandparents in particular really love an invite!
DIY Wedding Invites: Printed options
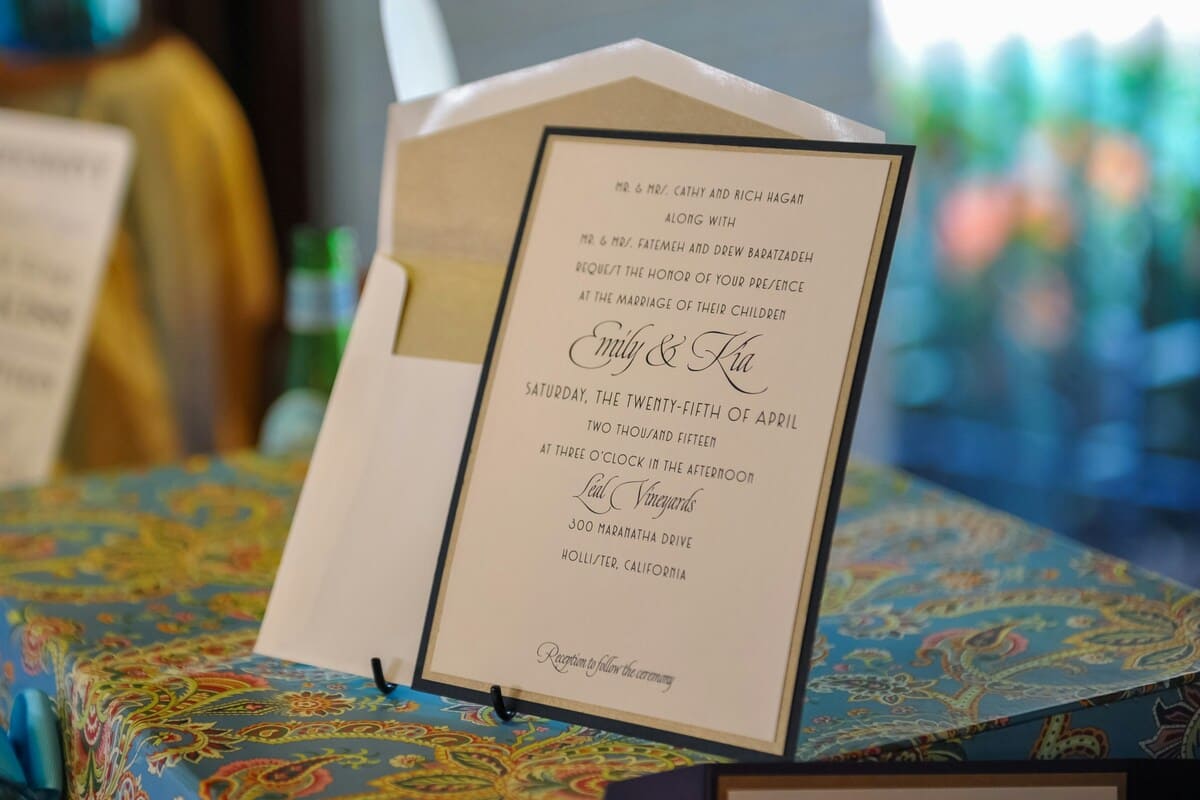
Creating your invites digitally, where you design your paper invite online is a great option these days. There are loads of websites that offer a user-friendly experience where you will be walked through the design process and even chat to the designers themselves if you need to.
You can then use the same site to create other matching wedding stationary, like menu’s and ceremony programmes.
Often the quality of the product you make online can rival the high end bespoke stationery.
These sites will help you find your own style and help you with printing options.
How to identify your preferred design for a digital invite
When creating your own wedding invites online you’ll first need to decide what styles you like the most. Do you want something classic and elegant or perhaps something more bold, colorful and loud?
Start a Pinterest board to browse through other invites and get inspiration.
Top tip: designs with light color or white backgrounds will look better when printing at home – and save on your ink bill!
Sites like Creative Fabrica have literally thousands of templates for you to choose from. Have a browse through these free templates to see what stands out to you the most.
Do you like florals? If so, big and bold ones, or something smaller and more subtle? If you’re having a black tie event you may want to stick to a monochrome palette and perhaps include a cocktail glass image. If you’re getting married in the desert try a cactus motif – you get the idea.
Think about the colors of your bridesmaid dresses and flowers, and find a template that compliments those.
You’ll also be able to pick the size and shape of your invite – do you want a simple square, or would a rectangle give you more space to include information?
These beautiful templates are not only free to use – they are also very easy to work with as they have a drag and drop feature that is incredibly user friendly.
During the design process you’ll be able to tweak each element of the invite, changing font styles and sizing to ensure you get the perfect invite for you.
RSVP options
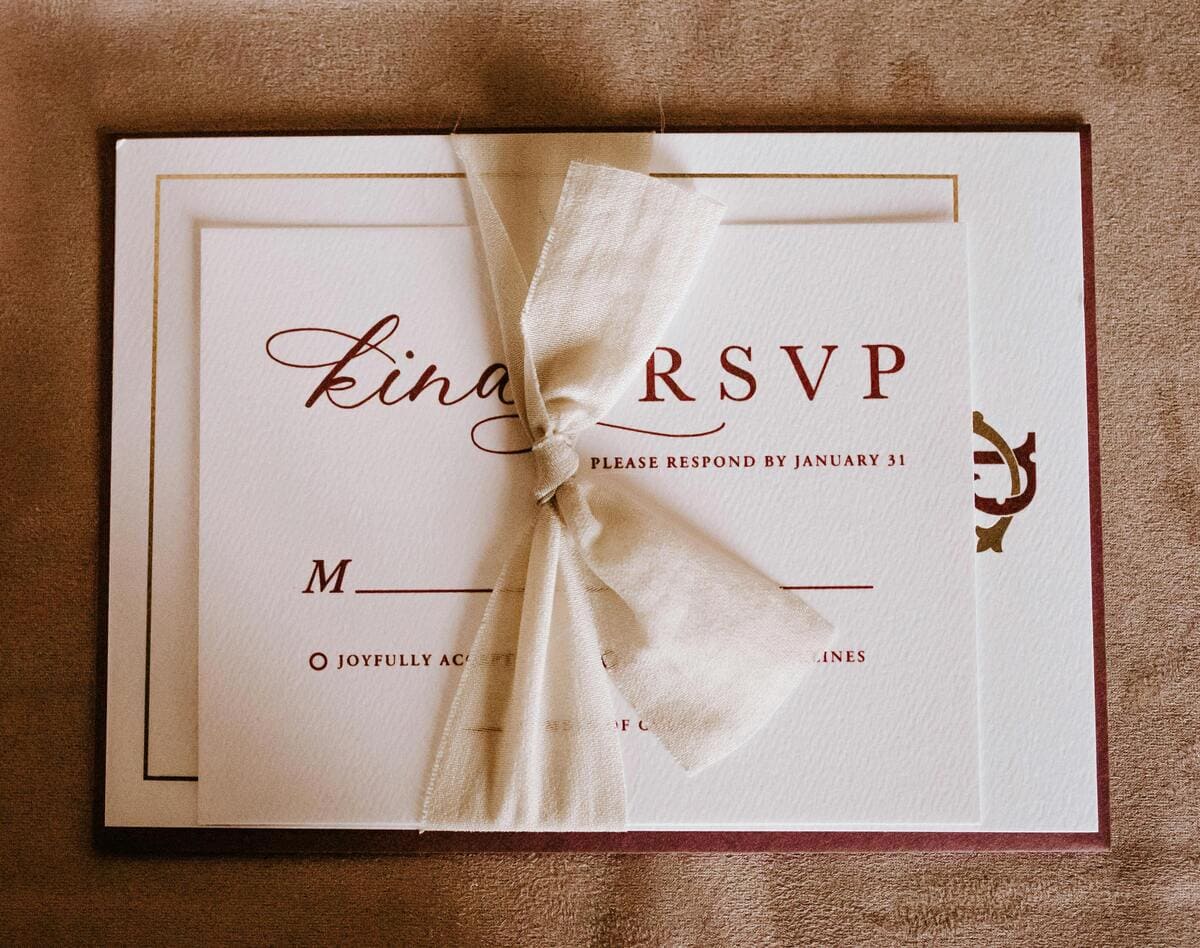
Don’t forget to include an easy way for your guests to RSVP to you. Lots of brides and grooms use a simple email address for people to RSVP to.
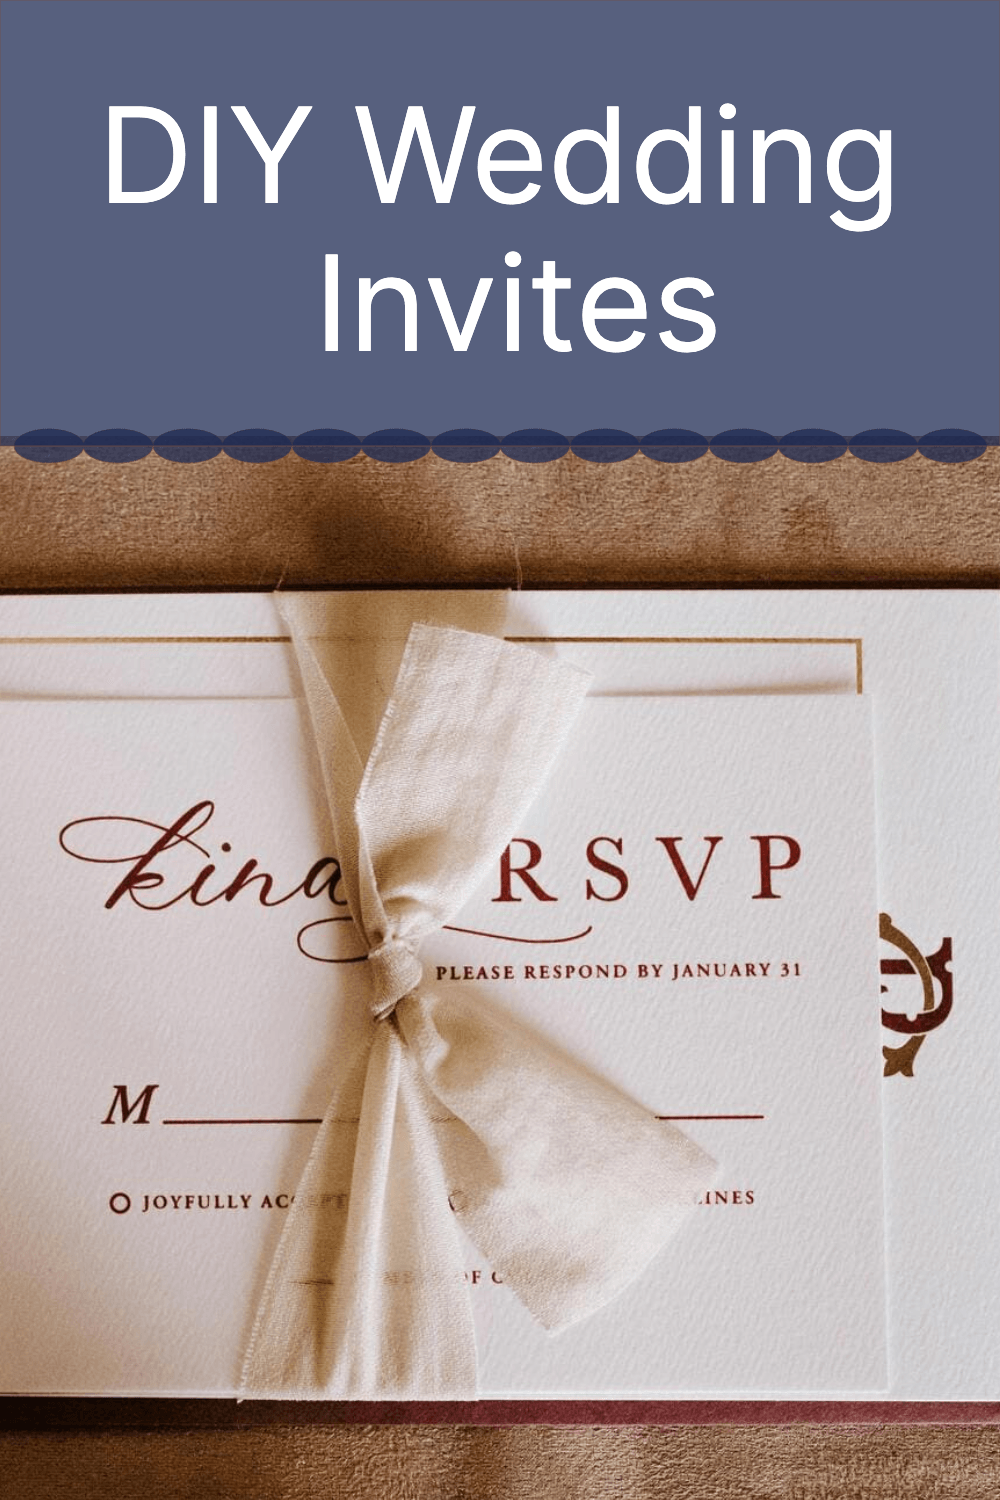
Otherwise you can include an RSVP card within your invite. Some designers will create a perforated RSVP section of the invite which can look quite cool.
Don’t forget to also include an envelope for them to return them to you – up to you whether you include a stamp!
Printing my wedding invite
So, you’ve designed your invite and now you’re ready to print. You have two main options now: either print at home, or send your completed file to a printing shop like Costco or a more local place.
Using a professional print shop will give your finished invites a professional feel – they will be trimmed to the perfect size if needed, and be printed on the best paper for your design.
If you are printing at home, then make sure you purchase thick, good quality paper. Test the print with just one copy at first to make sure you get it 100% right. We’d hate you to hit print on 100 invites if there was a small error!
Unique ideas to make your wedding invites stand out
If you want to show off your creative flair even further, then have a think about adding something extra to your wedding invites.
This could be a pressed flower, petals or a small sprig of a plant to match your design.
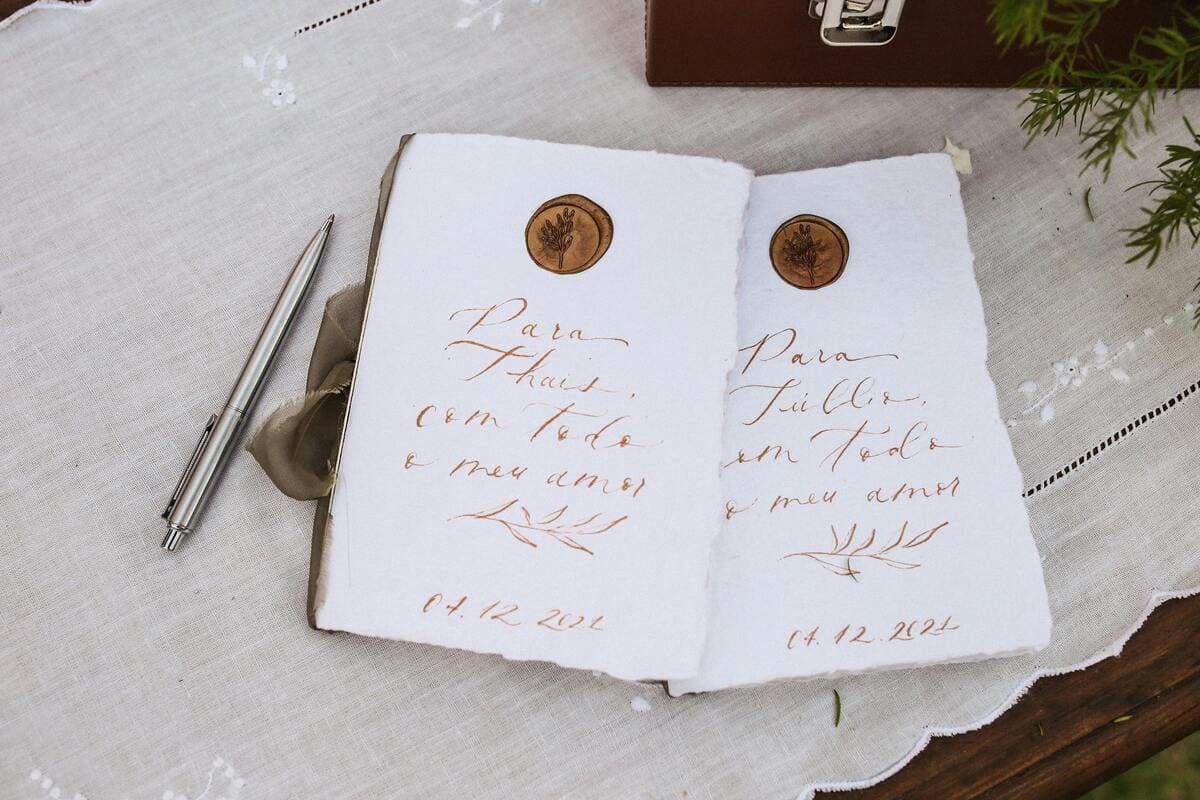
You could tie your invite with a loose ribbon in a matching color palette – a charming and romantic option that is quite traditional.
You could use a wax seal on your envelope, adding a vintage touch to your wedding invite. Whilst red is traditional, you can now buy a sealing kit in lots of color options.
You could even use an illustrator to create something entirely bespoke for you. This could be a family crest, a logo where your initials are intertwined or even a personalized image of the two of you together.
Top Tips for creating DIY wedding invites
Calculate the cost first
Think about the number of guests you have and how many invitations you will need to print. Then think about the size, the paper type and any embellishments you may include.
Next work out the cost of the postage and envelopes – this can add up quite quickly.
Test your final design
Give yourself options at the design stage – perhaps create 2 or 3 designs using the templates that you love most.
Firstly, and most importantly, get the opinion of your partner – it’s important that they love it too! Then maybe get another opinion from your best friend, for peace of mind.
Before you print – and this is very important – run your final design past a few other sets of eyes. You may have been looking at it too long, but fresh eyes might spot any small mistakes, or notice anything that you’ve missed.
Think about timing
You ideally want to mail your wedding invites at least 3-6 months before your wedding day, so plan ahead!
Give yourself time for the design process. Even when you’re using a digital template you don’t want to rush this part.
Also include a bit of buffer time in your planning – just in case there are any issues and you need to print them again.
In summary
We hope this article has given you some food for thought and inspiration on what to choose for your wedding invites. Once you start your own research you’ll discover a world of options out there at your fingertips.
When deciding which wedding invite option is best for you, make sure you cost up the various routes and try to stick to your budget where possible.
And lastly, try to enjoy it! This process should be fun and enjoyable. Remember you don’t need to please anyone but yourself and your bride/ groom – so have some fun along the way. Good luck!


Leave a Comment